
How to Make a Stone Bird Bath
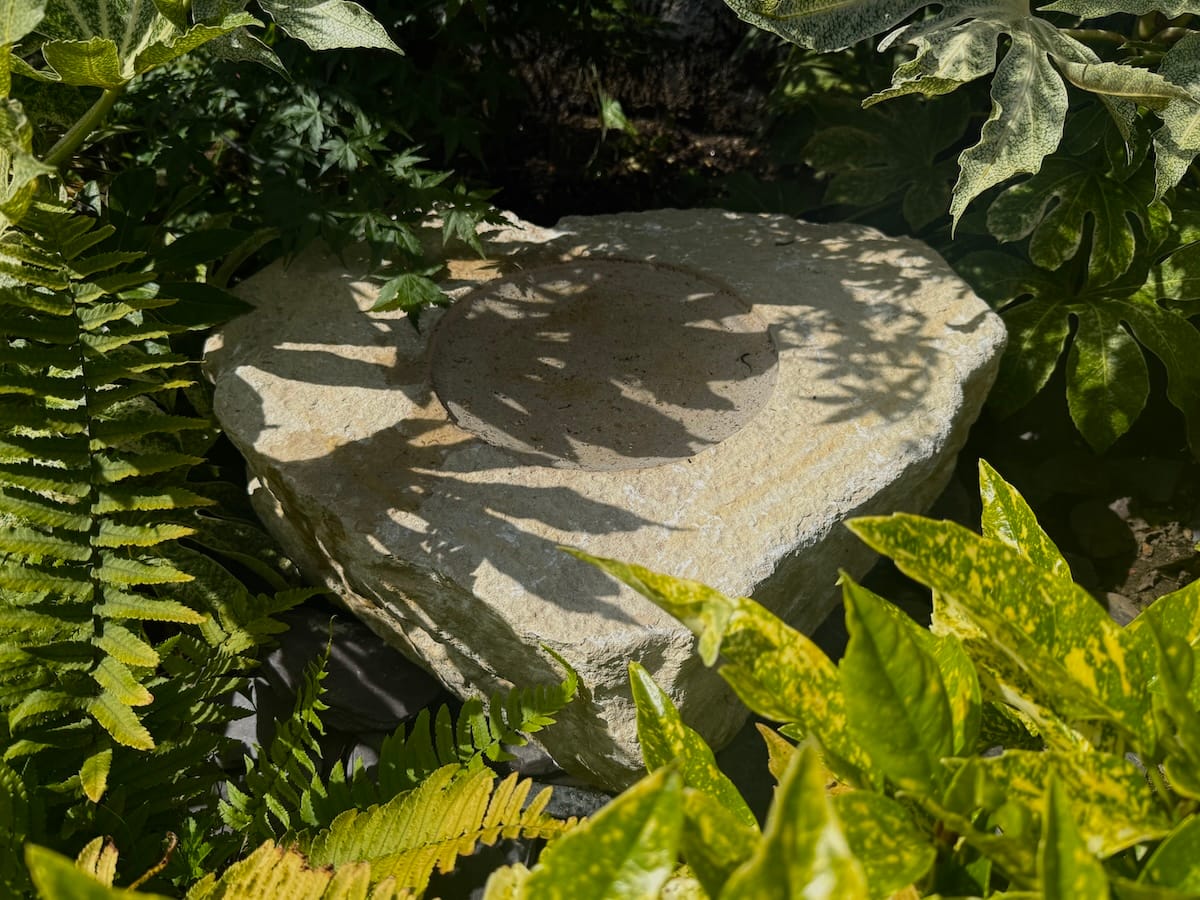
There’s something magical about watching birds splash and play in your garden. A bird bath doesn’t just provide a vital water source for wildlife — it also adds charm, texture, and tranquility to your outdoor space. If you love working with natural materials, making your own stone bird bath is a rewarding project that blends practicality with rustic beauty.
In this guide, we’ll walk you through everything you need to know: from choosing the right stone to crafting, assembling, and maintaining your bird bath. By the end, you’ll have a one-of-a-kind feature that attracts feathered visitors for years to come.
Why Choose Stone or Slate for a Bird Bath?
Stone and Slate is one of the most durable, timeless, and eco-friendly materials for making a bird bath for your garden. Unlike plastic or resin, a stone bird bath weathers naturally and blends seamlessly with your garden environment. Welsh Slate is our referred choice of material aswell as Purbeck Stone which is a lighter creamier Limestone. Some of the key benefits include:
- Durability: Stone resists cracking, UV fading, and wind damage.
- Natural Look: It harmonizes beautifully with plants, soil, and water.
- Weight: Heavy enough to stay in place, deterring tipping by pets or wildlife.
- Low Maintenance: Easy to clean and unlikely to grow algae as quickly as lighter materials.
Tools and Materials You’ll Need
Before you begin, gather the right tools and supplies. Here’s a suggested list:
- Stone base: A sturdy flat rock, pillar stone, or short stone column.
- Basin stone: A naturally concave rock or a stone slab you can carve a shallow dip into.
- Chisel and hammer: For shaping and hollowing the basin.
- Masonry drill (optional): If you’d like to secure the basin to the base with a dowel or pin.
- Grinder: Electric or battrey, with appropriate blade to cut stone.
- Brush: A small hand brush to keep the surface clean and clear.
- Water source: A jug, hose, or rainwater collection barrel to fill the bath.
- Level: To ensure the basin sits evenly.
Step 1: Choose the Right Location for Your Garden Bird Bath
Birds prefer baths in safe, sheltered spots with nearby cover. Place your bird bath:
- Near shrubs or trees, offering quick escape routes from predators.
- In partial shade, which helps keep water cool and algae growth down.
- On level ground for stability and easy access.
Avoid putting the bath directly under trees where falling leaves or droppings could quickly dirty the water.
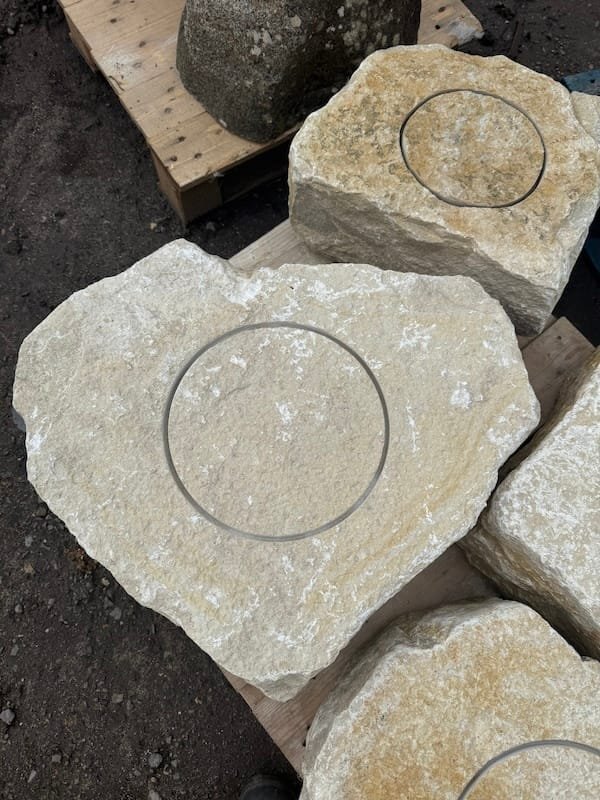
Step 2: Select Your Stones
The character of your stone bird bath design depends heavily on the stones you choose:
- For the base: Use a tall, flat-topped stone, a short column, or a stack of sturdy rocks. Stability is key.
- For the basin: Look for a naturally hollowed stone, or choose a slab that can be carved into a shallow dish about 2–3 inches deep. Birds don’t need deep water — shallow, sloping edges are safer.
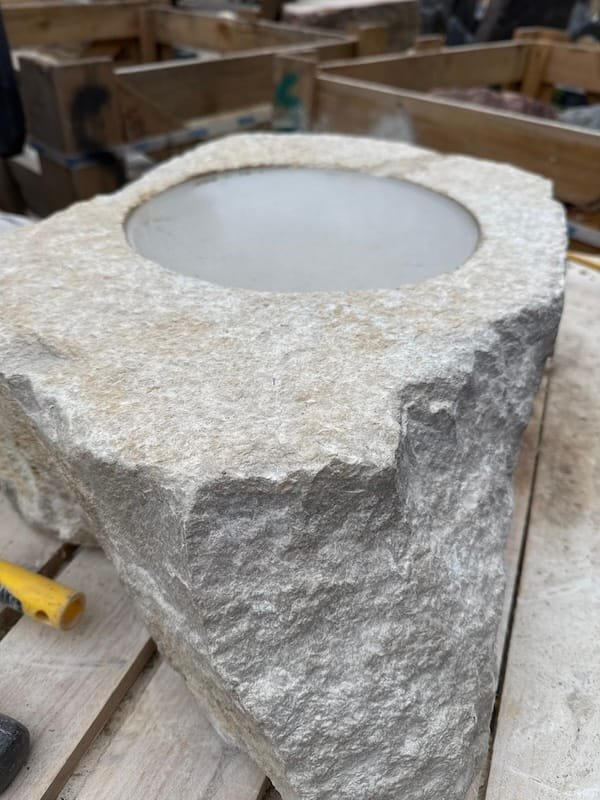
- Single stone design: An alternative sturdy option is to use a single stone or rock which lays flat or directly onto the ground.
- Form and Texture: Consider the shape you prefer, whether it’s a symmetrical shape or a more natural flow that follows the outline of the stone.
- Characteristics: Some stones has been plain and uniform, whilst other stones can be full of quartz, colour and natural markings.
If you can source slate, granite, or sandstone, these are excellent options. These stone materials do not absorb water and are very popular for stone bird baths and basins.
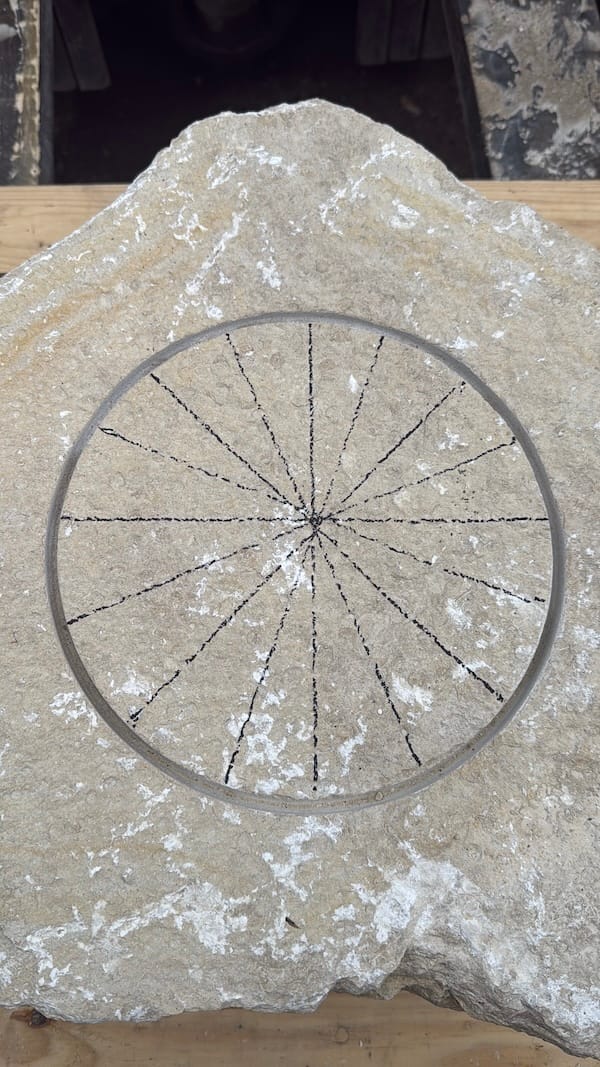
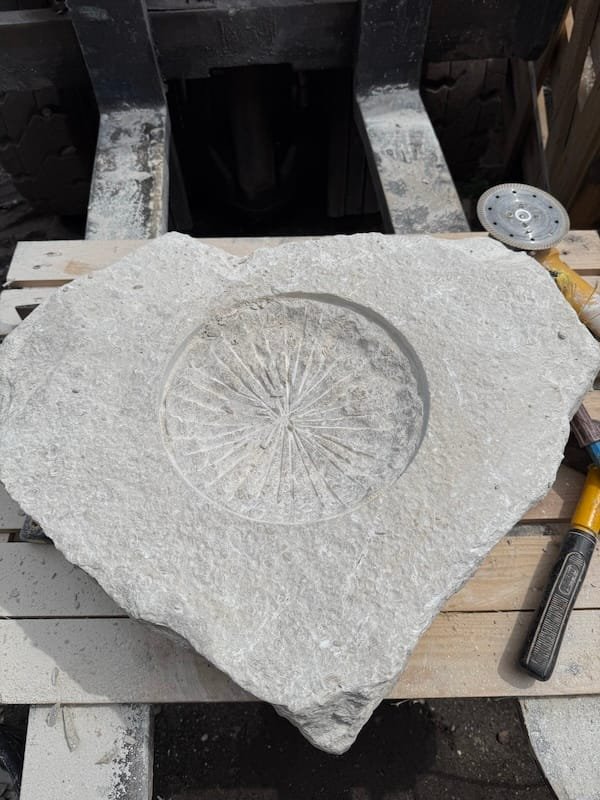
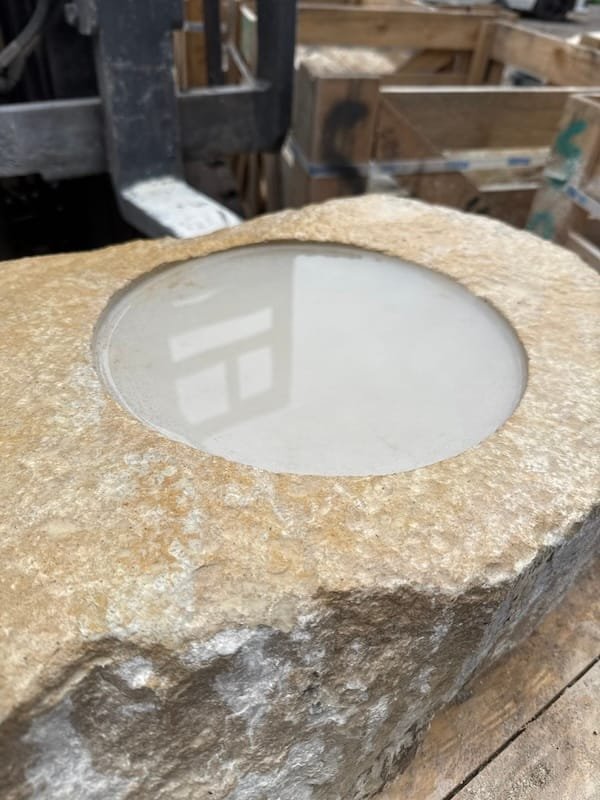
Step 3: Shape the Basin
If your chosen stone doesn’t already have a natural hollow, you’ll need to shape one. If you’re looking for DIY bird bath ideas that are safe for birds, keep the water shallow with gently sloping edges.
- Mark the area where you want the dip.
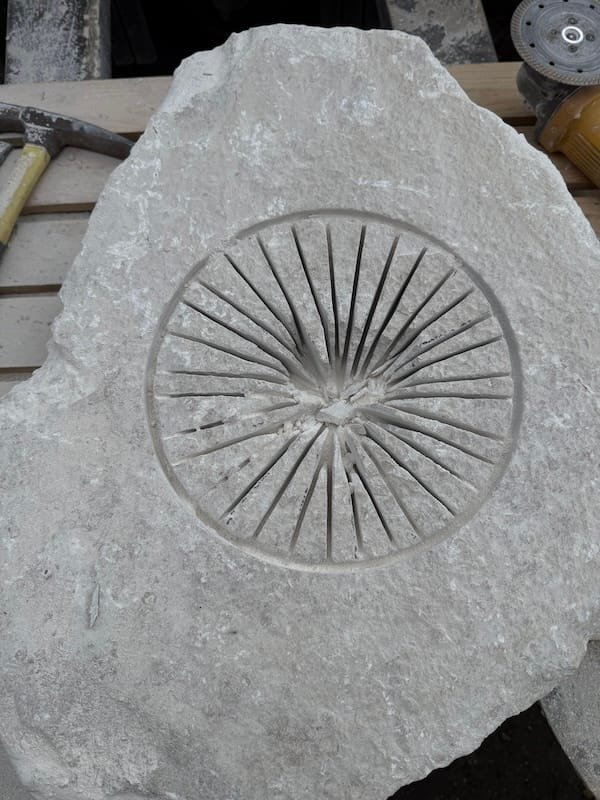
- Using a hammer and chisel, carefully chip away small amounts of stone.
- An electric or battery operated grinder will speed up this process.
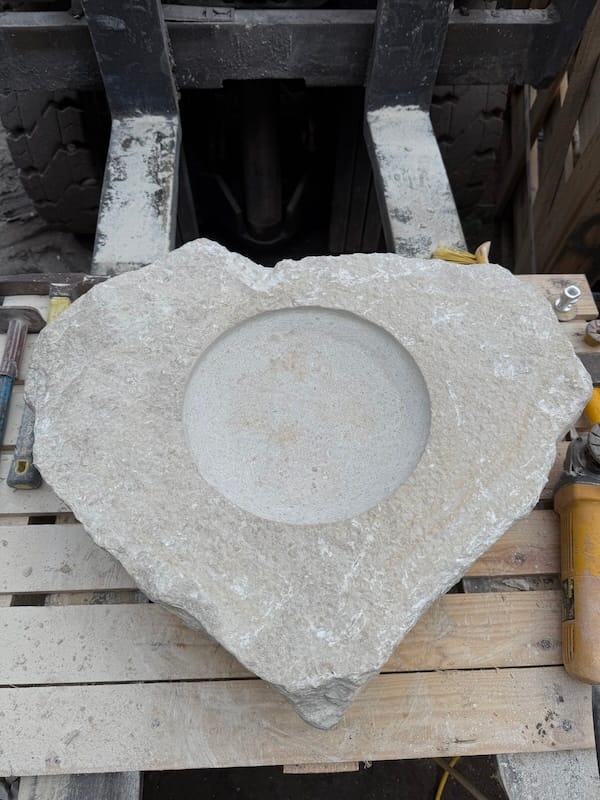
- Smooth the surface gradually, ensuring no sharp edges remain.
- This can be done manually using sandpaper.
- Alternatively you can use varying grit polishing pads on a grinder.
- Aim for a gentle slope with a maximum depth of about 3 inches at the center.
- You must ensure you wear appropriate safety equipment.
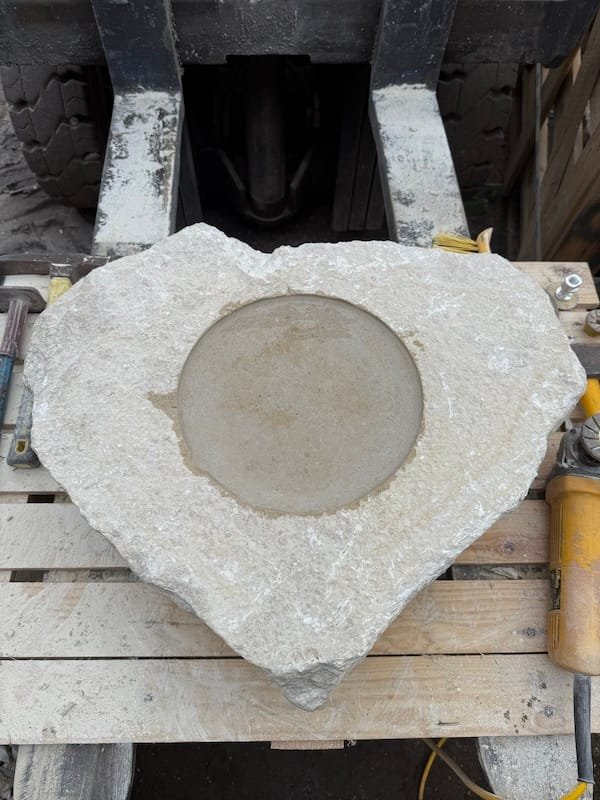
- Keep a brush handy to remove any dust so you can chisel a clean surface.
- Give the stone a good wash down with a hose to remove any chippings and dust particles.
This process can take time, but patience will give you a functional, safe basin. The chosen stone material will determine whether this will be a quick or slow process.

Step 4: Assemble the Bird Bath
Once your stone or base and basin are ready:
- Place the base stone in your chosen spot, checking with a level for stability.
- Position the basin stone on top. If it feels secure, gravity alone may suffice.
- For extra stability, you can drill a hole in both base and basin stones and insert a metal dowel to pin them together.
- If using a single boulder style stone ensure this sits flat and does not wobble
Test by gently pressing on the sides — the bird bath should not wobble.
Step 5: Add Water and Finishing Touches
Fill the basin with clean, fresh water. Ideally, keep the depth no greater than 2 inches at the edges. Birds are more likely to use baths where they can wade in gradually.
You might also add a few small pebbles or flat stones inside the basin to give smaller birds a safe perch.
Maintenance Tips
- Refill often: Birds need fresh water daily, especially in hot weather.
- Clean weekly: Scrub with a stiff brush to remove algae and debris. Avoid harsh chemicals.
- Winter care: If you live in a freezing climate, empty the bath during winter to prevent cracking or invest in a bird bath heater.
Enhancing the Experience
Once your stone bird bath is in place, you can take it a step further:
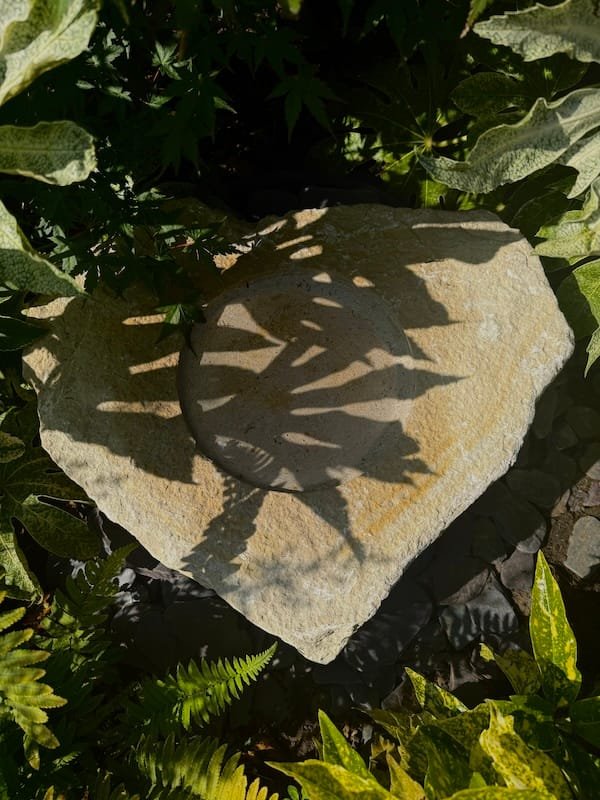
- Surround the base with native plants or wildflowers to create a natural haven. This will encourage wildlife immediately.
- Place a small drip feature or solar-powered fountain in the bath to keep water moving, which birds love and which discourages mosquitoes.
- Add decorative stones around the base for a polished, landscaped look.
Final Thoughts
Making a stone bird bath is a project that combines creativity, craftsmanship, and care for wildlife. Unlike store-bought plastic models, your handmade version will have character, longevity, and a deep connection to your landscape. The sound of birds chirping and bathing will reward your efforts every day.
So, gather your stones, roll up your sleeves, and bring a touch of nature’s artistry into your garden. A handmade stone bird bath doesn’t just quench thirst — it brings your outdoor space to life.